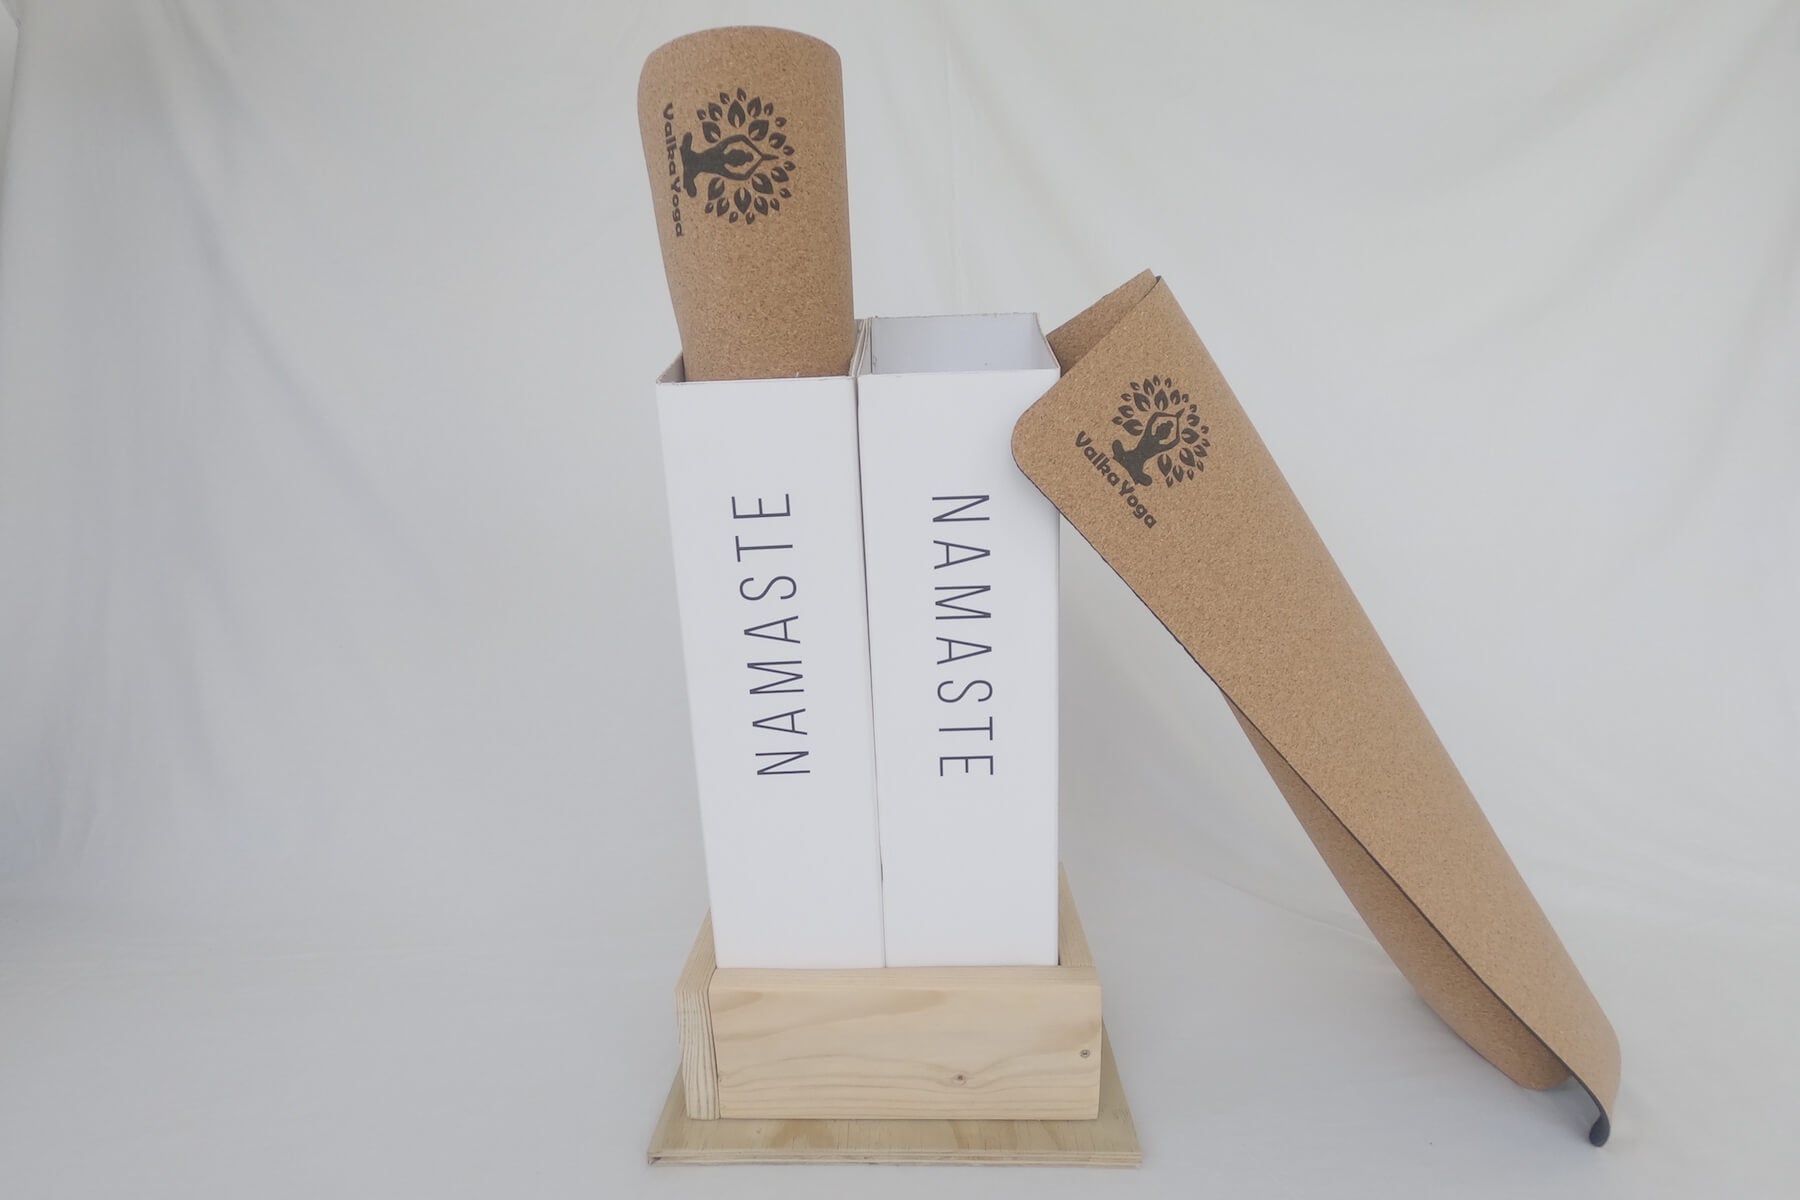
Kia Ora! My name is Jaro and to understand how I came up with this idea you must know a little bit about me.

I think of myself as an eco-enthusiast and try to focus on reducing my waste wherever I can; I do my own compost, I recycle what I can - hard plastics, soft plastics, everything. But when I saw the two beautiful, strong cardboard boxes we received our Valka Yoga Mats in, I didn't even think of recycling them. My first thought was along the lines of 'upcycling'. Upcycling is the process of giving your waste a new life or use. For example, when you don't throw away an empty jar of pickles, but instead use it as a drinking glass or a flower vase.
So, I knew I was going to use these boxes for something special, there were only two questions: what? And how? They fit our yoga mats perfectly of course, and while our old yoga mats were thinner and could fit under the bed, the new ones wouldn’t so we needed a storage solution. And there it was! A simple idea for a yoga mat stand formed in my head. I knew that the boxes alone would not be enough, so I went down to the garage to see what else I could use and found some old wooden pallets. The word 'old' is very important here you see, it had to be an upcycling project after all. So, I gave that piece of wood, forgotten in my garage, a brand-new purpose. Easy as that. No extra materials needed (except a few screws), no extra waste produced and an extra bonus - I've had some creative time for myself!

Since Valka Yoga is also focussed on creating products that are sustainable and beautiful, they were eager to share this process with their other customers. Let's see together how I did it. For visual learners, the video shows the steps one-by-one so you can see how it all comes together or follow the steps below.
Step One: The Frame
First, I taped the two boxes together side by side (using painters’ tape won't damage your boxes) and measured the ‘base’. If you’re making a stand for just one mat, then just use one box and measure its base. Then I cut 4 pieces of wood to fit around that just right and not be too loose.

I used a sanding machine to smooth and freshen the surfaces of the wood and a final touch with fine grit sanding paper and screwed these four pieces together. This formed the frame of the mat stand.
Step Two: The Base
Then I used another piece of wood as a pedestal or base. I found a thinner piece of wood in the existing pallets so that’s what I used, but you can use whatever thickness suits your style or your available materials – the key is to use what you already have rather than buying new materials. I cut this piece 2 cm longer on each side.

I've used two angle brackets to screw the frame to the base, but you can also glue them, or screw from the bottom of the pedestal.
The final step is to treat the wood. I skipped this as I preferred plain timber finish, but you can use wood oil, varnish or even a paint here. The only limit is your creativity.
Step Three: Final Touches
Cut the top part of the box so that the stand is the height you want. If you are building the two-mat stand as I did, you will join the boxes together (glue, tie or sew them together) and push that into your wooden stand. I cut the boxes so that a quarter of the mats’ length stuck out, and at an angle just for the aesthetics of it. Again, your choice whether you want to decorate this.

Voilà, your eco-friendly yoga mat stand is ready for use.
Namaste 🙏
Jaro


